
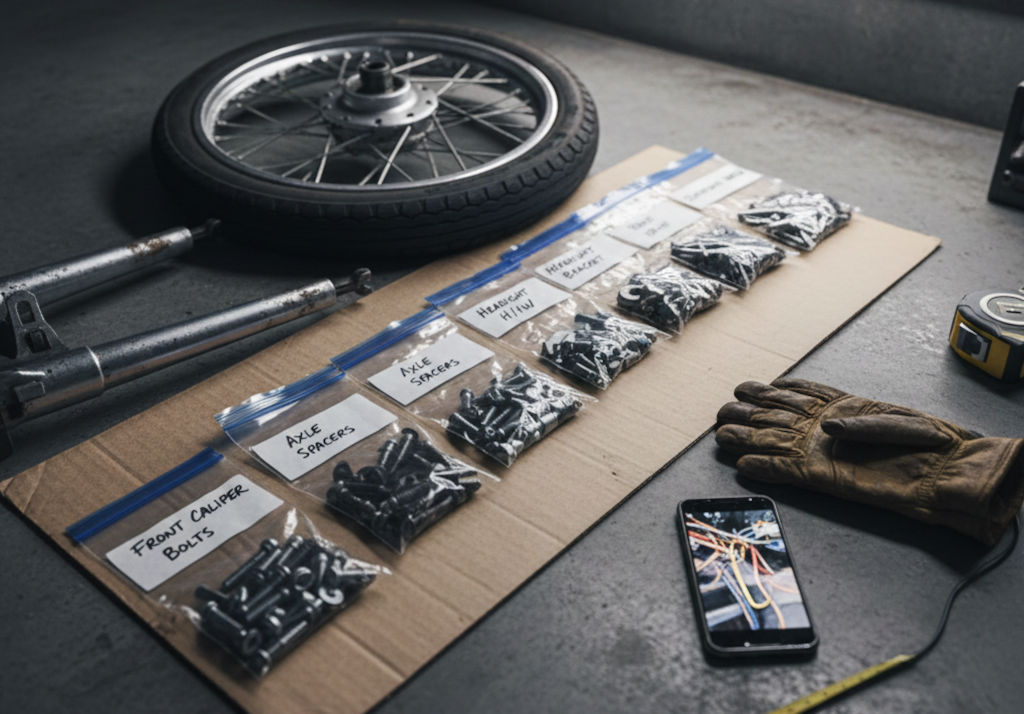
The most daunting moment of any project is the transition from “looking at the bike” to “taking it apart.” It’s the moment the bike stops being a vehicle and starts being a collection of components.
To ensure your project doesn’t end up as a pile of mystery bolts in a cardboard box, you need a system. Here is how to start the work without losing your way.
1. The “Documentary” Phase (Take More Photos)
Before you touch a wrench, take a hundred photos. Then take a hundred more.
-
Details Matter: Photograph cable routing, wire colors, and how the throttle housing sits on the handlebar.
-
The “Before” shot: Take a clear profile shot. You’ll want this for the “Before & After” glory later.
-
Pro Tip: If a part looks complicated, take a video of yourself moving it or pointing to where the wires go. Your future self will thank you.
2. The Bag-and-Tag Method
Never, ever put bolts into a general “parts bucket.”
-
Buy a box of heavy-duty Ziploc bags and a Sharpie.
-
Every time you remove a component (e.g., the taillight), put all its hardware into a bag and label it: “Taillight Bolts – 1974 CB550.”
-
Tape that bag directly to the part or store them in a dedicated plastic bin.
3. Work in “Sub-Assemblies”
Don’t strip the entire bike to the frame on day one unless you are doing a 100-point restoration. Instead, focus on small wins:
-
The “Fuel System” Week: Pull the tank and carbs. Clean them, rebuild them, and put them aside.
-
The “Electrical” Weekend: Clean the grounds, check the points, and replace the battery.
-
Why? Small wins keep your motivation high. If the bike is completely in pieces, it can feel overwhelming. If you just finished the carbs, you feel like a hero.
4. The “One-Way” Rule
When you’re taking things apart, if you find something broken or “bubba-fixed” (looking at you, duct tape and wire nuts), write it down immediately. Keep a running “Parts Needed” list on your whiteboard or in your Project Bible. It’s much cheaper to order ten parts at once than to pay for shipping ten separate times.
The Final Thought: Embrace the Greasy Hands
There will be a day—usually about three weeks in—where nothing goes right. A bolt will snap, a part will be backordered, or you’ll realize you put a seal in backward.
When that happens, walk away. Turn off the lights, grab a drink, and come back tomorrow. This is a hobby, not a race. The goal is the journey, the learning, and eventually, that first crisp ride into the sunset on a machine you saved from the scrap heap.